Showing posts with label jailbreak. Show all posts

Friday, April 17, 2009

How to Check Your iPhone Bootloader Version (Windows)

These are instructions on how to find your iPhone Bootloader version using BBUpdaterExtreme and Windows. You can use these instructions to determine if an unlock is possible on an accidentally upgraded iPhone 3G. Currently only iPhones with bootloader 5.08 will be able to downgrade their baseband for the unlock.

Before you begin please have MobileTerminal and OpenSSH installed from Cydia. You can find MobileTerminal in the Terminal Support section of Cydia. For instructions on how to install an application from Cydia you can use this tutorial.

You will also need WinSCP installed you can find it here


Step One
Download BBUpdaterExtreme from here and save it to your desktop.

Step Two
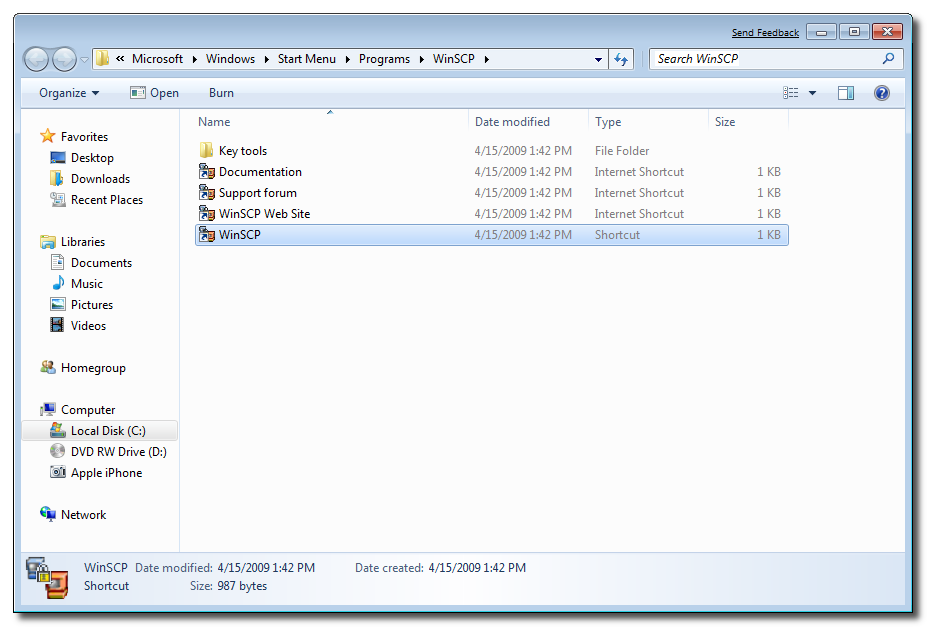
Launch the WinSCP application from your Start Menu programs.

Step Three
Make sure you iPhone is connected to the same wireless network as your computer and determine its IP Address using these instructions.

Step Four
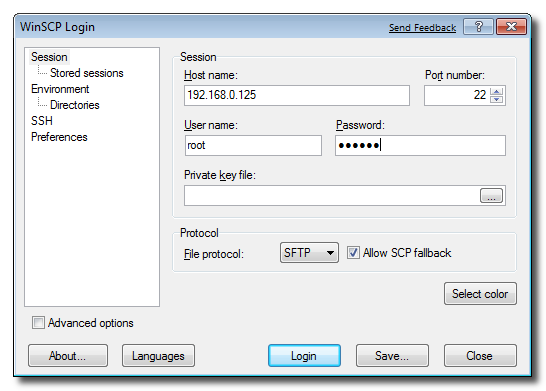
WinSCP will ask you to input your login information. Enter the IP Address you just retrieved in Step Three as the Host Name, root as the username and alpine as the password. Click the Login button to continue.


If prompted to add the host key to the cache click the Yes button.


Step Five
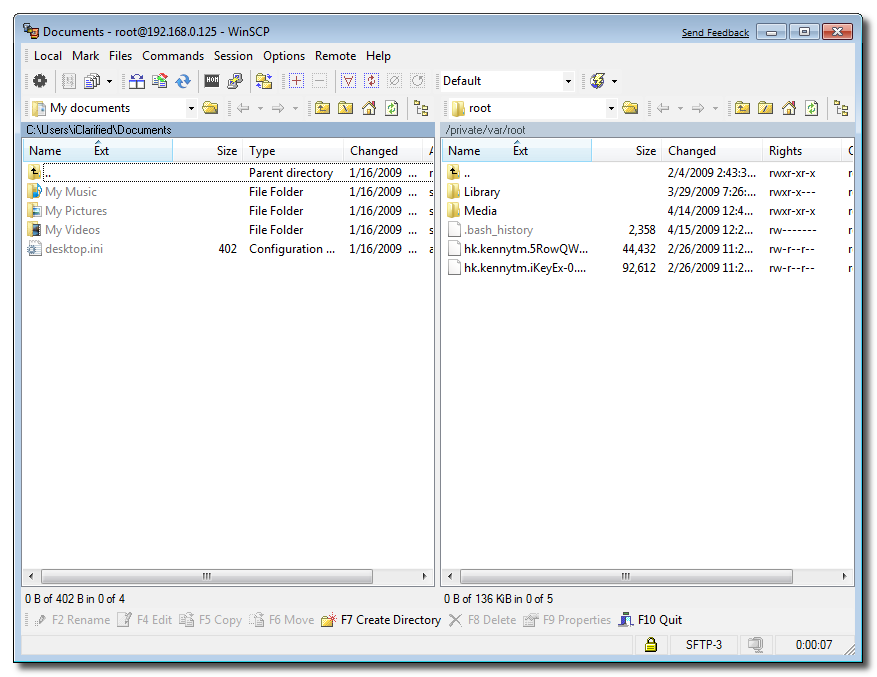
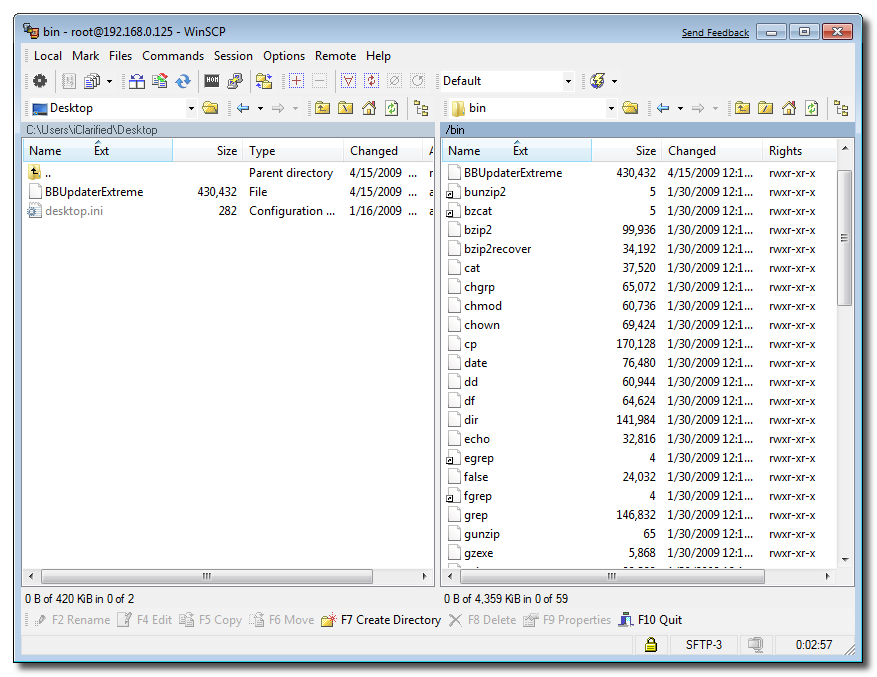
WinSCP will now display two file trees. The one on the left is your local computer and the one on the right is your iPhone.


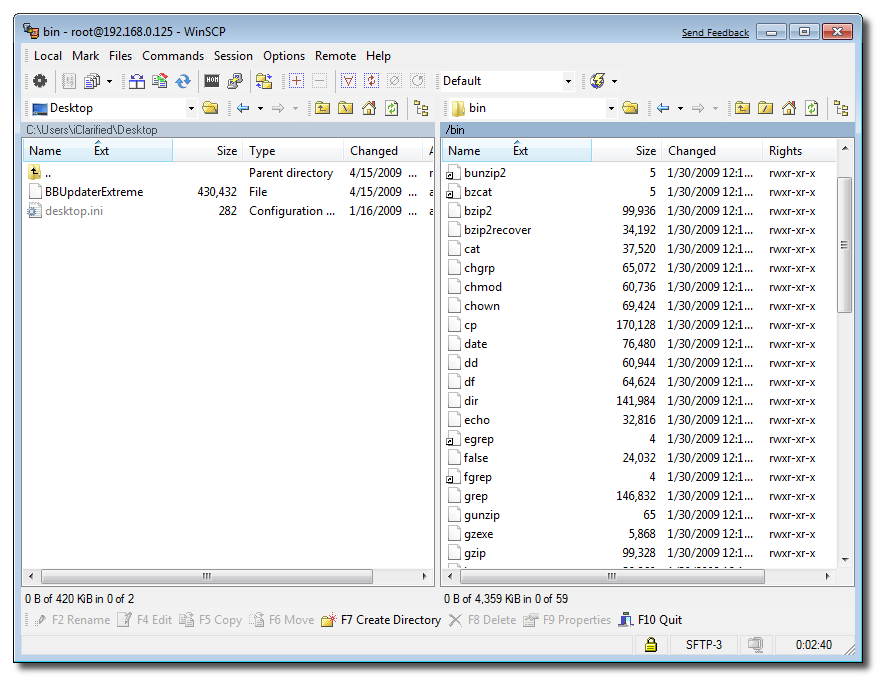
Navigate to your desktop using the left file tree and navigate to the /bin directory using the right file tree.


Step Six
Drag the BBUpdateExtreme file from the left panel to the right panel.


Step Seven
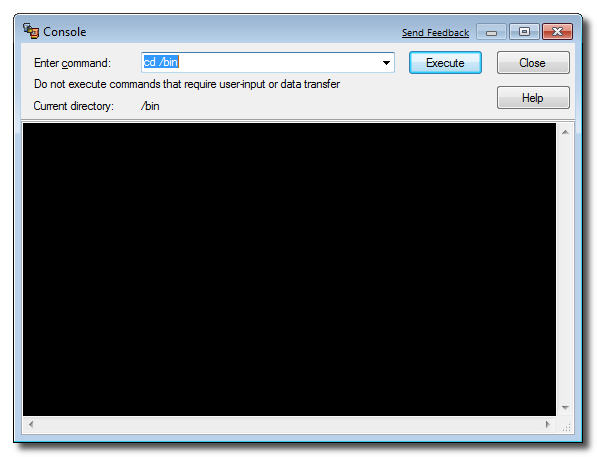
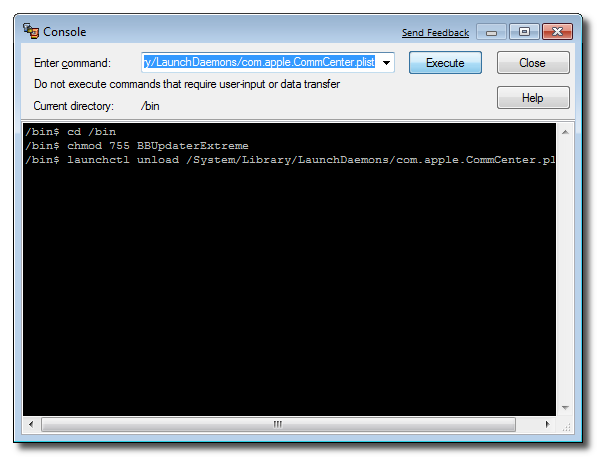
Select Open Terminal from the Commands menu.


Step Eight
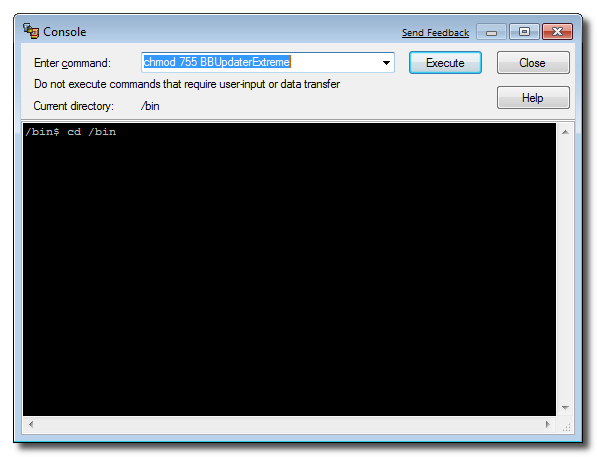
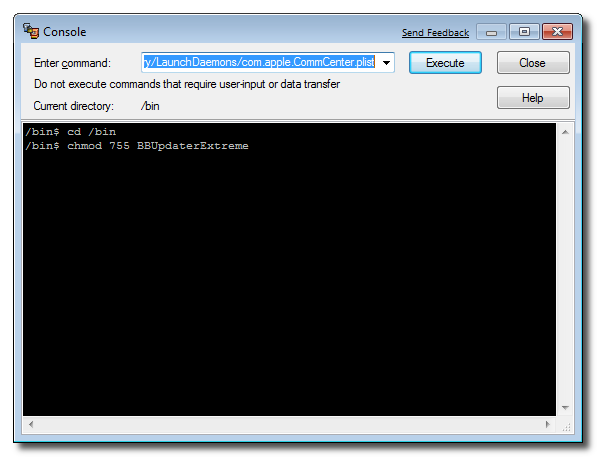
Input the following commands into the Terminal window and click the Execute button after each.

cd /bin


chmod 755 BBUpdaterExtreme


launchctl unload /System/Library/LaunchDaemons/com.apple.CommCenter.plist


Step Nine
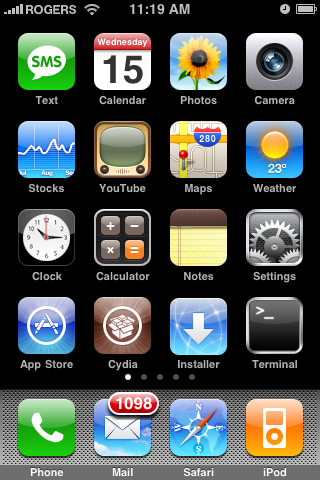
Your iPhone will now loose its network connections. Launch Mobile Terminal from the iPhone SpringBoard.


Step Ten
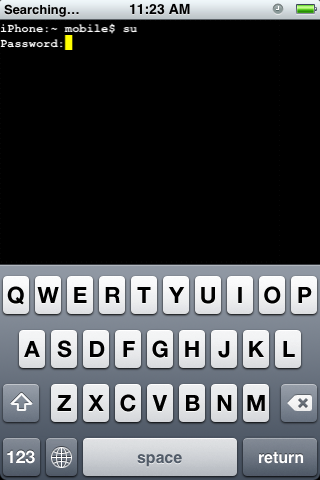
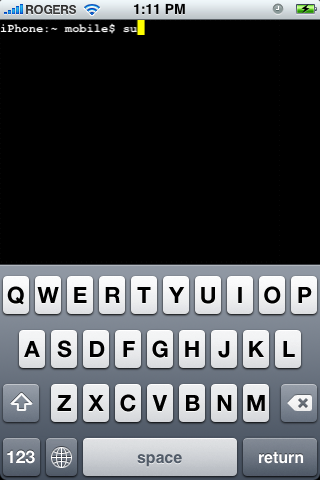
Type su into the terminal window. When asked for a password input alpine as the password.


Step Eleven
Now input BBUpdaterExtreme queryversion to get the bootloader version of your iPhone. It will look something like Boot Loader Version: ICE2_BOOT_05.08_G2M3S2


NOTES: You will need to restart your iPhone to regain network connectivity. You could also type launchctl load /System/Library/LaunchDaemons/com.apple.CommCenter.plist into the terminal window.

How to Downgrade Your iPhone 3G 2.30 (2.2.1) Baseband for Unlock

These are instructions on how to downgrade your baseband from 2.30 to 2.28 for iPhone 3Gs with the 5.8 bootloader. This will allow you to unlock your iPhone 3G using YellowSn0w. An similar exploit is still be worked on for those with a higher bootloader version...

IMPORTANT: Make sure your iPhone uses the 5.8 bootloader before continuing. You can find instructions on how to check your bootloader version here: Windows, Mac. Ensure you are on the 2.30 baseband by following this tutorial. You will also need MobileTerminal installed to completed this tutorial.


Step One
Launch Cydia by pressings its icon on your SpringBoard.


Step Two
Press to select the Sections tab at the bottom of the screen.


Step Three
Press to select iClarifed from the list of Sections. If you don't see iClarified you will need to add the iClarified source using these instructions.


Step Four
Press to select DownBB from the list of Packages.


Step Five
Press the Install button at the top right of the screen.


Step Six
Press the Confirm button to begin installation.


Step Seven
Once installation has completed successfully press the large Return to Cydia button.


Step Eight
Press the Home button to return to your SpringBoard then press to launch Terminal


Step Nine
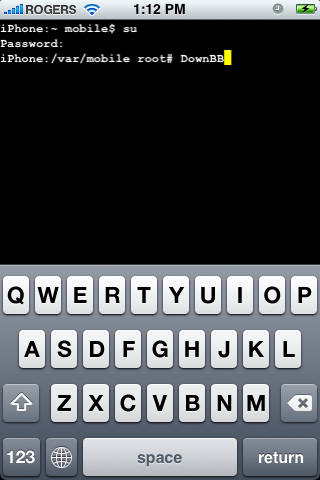
Enter su into the terminal window then enter alpine when prompted for a password.


Step Ten
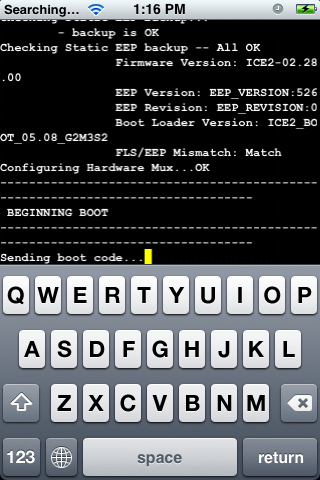
Enter DownBB into the terminal window to launch the baseband downgrade script.


Step Eleven
You will be asked to confirm you would like to continue. Please make sure you are on the 2.30 baseband and have the 5.8 bootloader before entering yes into the window.


Step Twelve
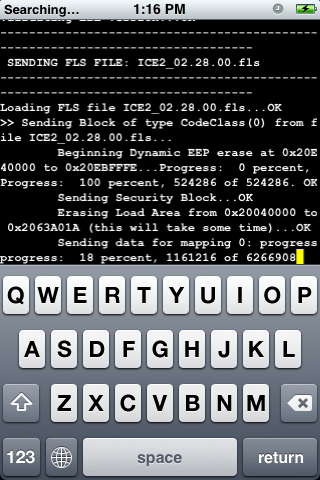
DownBB will now execute the script which downgrades your baseband.


Step Thirteen
Once the script has completed it will automatically reboot your iPhone.


Step Fourteen
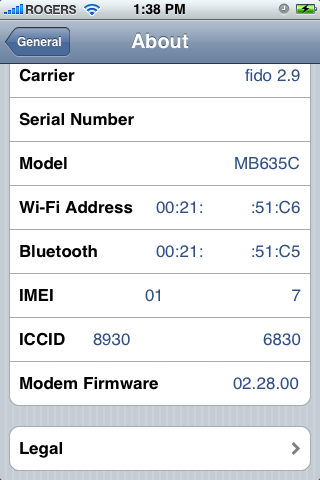
Please note you will now be on the 2.28 baseband.


Step Fifteen
You may now unlock your iPhone using the iPhone 3G unlock tutorial found here!

Thursday, August 21, 2008

How to Jailbreak Your 2.0.1 iPhone Using QuickPwn (Windows)

These are instructions on how to jailbreak your 2.0.1 iPhone using the QuickPwn command line tool released by the iPhone Dev-Team. Please remember this is beta software and may not work for some.

Currently the recommended solution for jailbreaking your iPhone using windows is still WinPwn.

Step One
Download QuickPwn from here to your desktop.

Step Two
Double click the downloaded zip file(QuickPwn.zip) to extract a folder called quickpwn.


Step Three
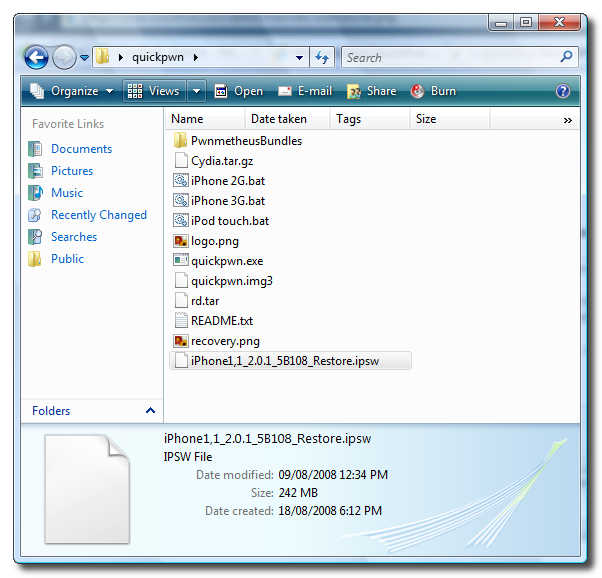
Download the 2.0.1 firmware for your specific iPhone and place it in the quickpwn folder you just created.
iPhone 2G: iPhone1,1_2.0.1_5B108_Restore.ipsw
iPhone 3G: iPhone1,2_2.0.1_5B108_Restore.ipsw


Step Four
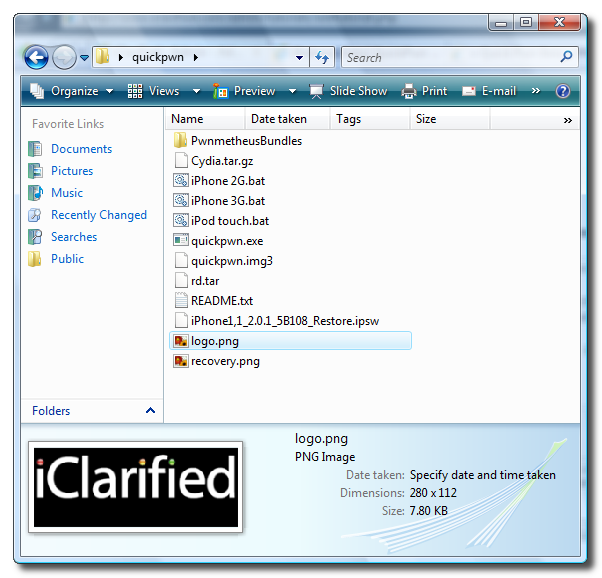
Replace the logo.png and the recovery.png files in the quickpwn directory with your own custom bootloader images. You can download the iClarified boot logo here and the recovery logo here.

If you are creating your own remember the rules are very strict. They must be RGB or Grayscale format with Alpha channel and dimension bellow 320x480.


Step Five
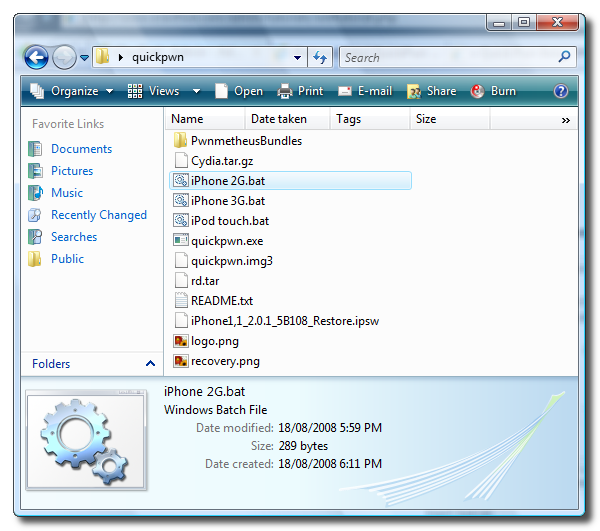
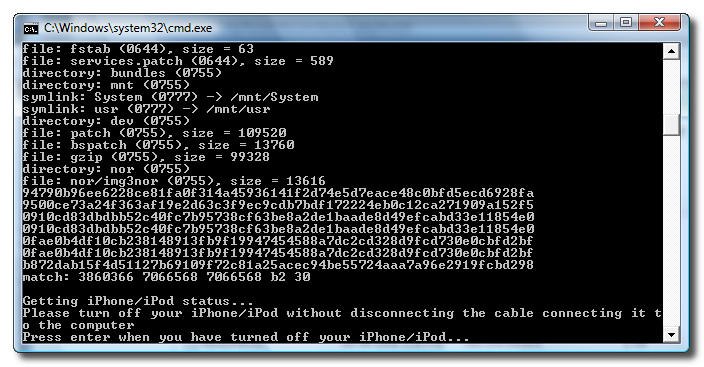
Connect your iPhone to the computer via USB cable, make sure iTunes detects it, and then close any iTunes processes that start. Then in the quickpwn folder double click either iPhone 2G.bat , iPod touch.bat , or iPhone 3g.bat depending on which device you are using.


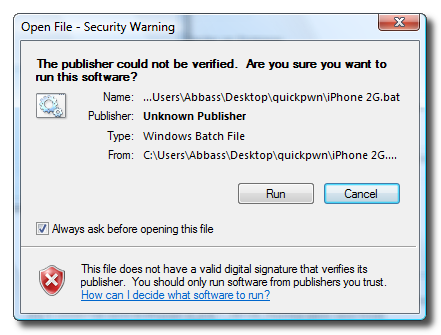
If prompted click the Run button to launch the batch file.


Step Six
You will then be asked to power off your iPhone and press Enter once it has been turned off.


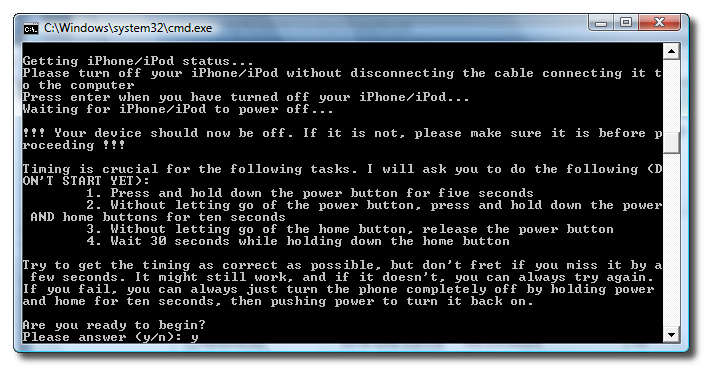
Step Seven
QuickPwn will now help you put your iPhone in DFU Mode. Read through the instructions so you know whats ahead then type in y and press Enter. As an alternative you can put the iPhone into DFU mode yourself using these directions then press Enter.


Step Eight
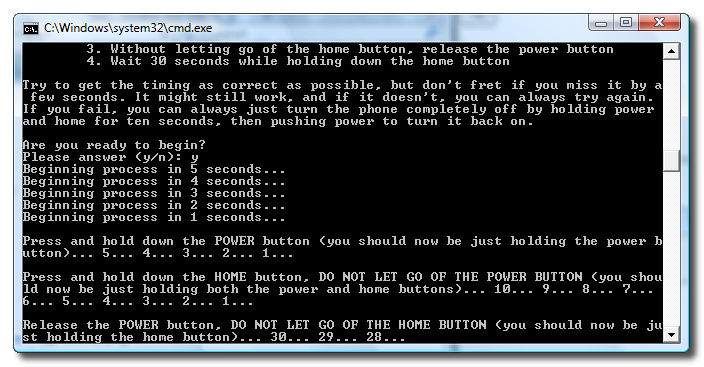
First you will be asked to hold down the Power button for 5 seconds. Then you will have to also hold down the Home button for 10 seconds without letting go of the Power button. At the end of 10 seconds you will need to release only the Power button.


Step Eleven
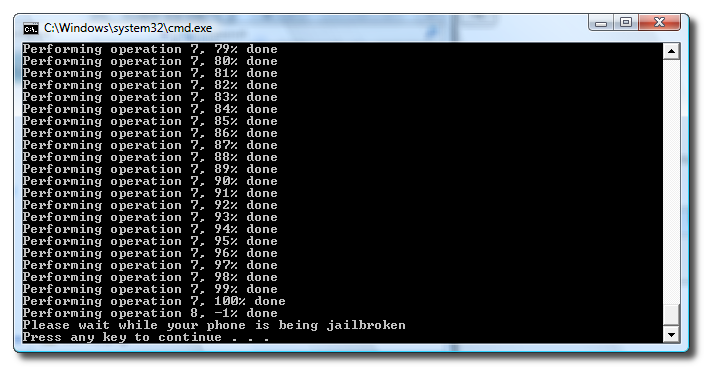
After a few seconds of holding down just the Home button QuickPwn will detect the DFU mode and start performing operations.

After 8 operations are performed QuickPwn will ask you to "Please wait while your iPhone is Jailbroken". You can press any key to close the command prompt window.


Your iPhone will display a turning wheel and in a few minutes will be jailbroken! If you have a 2G iPhone and would like to unlock simply install and run BootNeuter from Cydia.

Friday, August 15, 2008

How to Unlock/Jailbreak Your 2.0.1 2G iPhone (Windows)

This tutorial will use WinPwn to unlock and jailbreak your 2G iPhone on the 2.0.1 firmware. The latest version of WinPwn does install Installer.app

IMPORTANT: Some 2G users have experienced problems with the latest version of WinPwn. *****FOR THE PARTITION SIZER, SET IT TO 512MB!!! IF YOU DO NOT SET IT TO SOMETHING ABOUT 500MBS, IT WILL NOT WORK*****Or either deselect CydiaEither deselect Cydia or you can still follow these instructions using WinPwn 2.0.0.3 and the 2.0.0 iPhone firmware.

Please keep these notes in mind...
- You MUST do a full uninstall of winpwn before installing the new version
- Make sure you have the latest version of iTunes ( Currently 7.7)
- WinPwn uses 300MB of ram at peak due to the ipsw being extracted in memory
- You must first click browse and load an IPSW to use WinPwn (i thought this was clear)
- For 2.0 only the *5A347_Restore.ipsw files are valid. The 345 image will not work
- If you see Failed to load image catalog/payload catalog, this is fine and won't cause problems
- If you already have service with AT&T do not activate or install Youtube Fix
These are instructions on how to unlock and jailbreak your 2.0.1, 2G iPhone using Windows and WinPwn.

To follow this tutorial you will need to have iTunes 7.7 installed (make sure to reboot). Also, you may need to download and install .Net Framework if you are on Windows XP.

Step One
Create a folder on your desktop called Pwnage. In it place the following files: Winpwn 2.0.0.4 or Winpwn 2.0.0.4 , 3.9BL , 4.6BL , and the latest 2.0.1 firmware.

Step Two
Install WinPwn by extracting the downloaded zip from Step One and running the setup executable. Once WinPwn has been installed it will put a shortcut icon on your desktop. Double click to launch the application.
Step Three
Once WinPwn has opened click the Browse .ipsw button.

Step Four
Locate the 2.0 firmware file (iPhone1,1_2.0.1_5B108_Restore.ipsw) from the Pwnage folder on your desktop and click Open.

Step Five
WinPwn will check the firmware to make sure its valid. Now click the IPSW Builder button.

Step Six
The IPSW Builder window will open to the Applications tab. Check to select Cydia and if you are not on AT&T then check to select YouTube Fix.

Step Seven
Click to select the Custom Images tab. From here you can can select
your own boot images.

Step Eight
Click to select the Custom Payload tab. From this tab you can select custom payloads you have created to be automatically installed. We will discuss this in a future tutorial.

Step Nine
Click to select the Advanced tab. Check to select: Activate Phone, Enable Baseband update, and Unlock baseband.

We will also need to load the Bootloader files. Click the Bootloader 3.9 button and then select the BL39.bin file in your Pwnage Folder. Then click the Bootloader 4.6 button and select the BL46.bin file in your Pwnage Folder.

Step Ten
Click the Build .ipsw button at the bottom left to build your custom ipsw firmware file. Navigate to your Pwnage folder and click the Save button.

Step Eleven
Once WinPwn has finished creating your custom firmware then click the iPwner button from the main menu.

Step Twelve
Select the custom firmware file we just built from the Pwnage folder on your desktop and click the Open button.

Step Thirteen
You will then be notified that your iTunes has been Pwned!

Step Fourteen
Next we will need to put the iPhone in the DFU mode and restore using iTunes. To put your iPhone into DFU mode please follow these instructions: Press and hold the Home button and the Sleep/Wake button at the same time. After exactly 10 seconds release the Sleep/Wake button. Continue holding the home button until you iTunes pops up a message telling you that it has detected an iPhone in recovery mode. The iPhone screen will remain black. NOTE***: It may take a few attempts to get your iPhone into DFU mode. Generally, I hold down both buttons then release the Home button just before I think the Apple logo would appear. If you are still holding both buttons down and you see the Apple logo you are holding them down for too long!

Step Fifteen
iTunes will prompt you that you are in recovery mode.

Hold down Shift and click the Restore button in iTunes.

A popup window will appear asking you to select your firmware. Select the Custom firmware file we saved in the Pwnage folder and then click the Open button.

Once the restore is complete you will have your iPhone unlocked and jailbroken!